There’s many tutorials out there that explain how to do this but in this article I go over the thought process and hoops I went through to install Arch Linux on my main machine. You may judge me for this, but I used archinstall to install Arch Linux and here’s why.
I have attempted installing Arch the “pure” way on a laptop in the past, and I still could not get the hybrid graphics working so I get to install it this way, okay?
Heck, even the Archwiki has an essentially empty wiki page for archinstall and would rather have users go through the infamous Installation guide. An article actually worth going through to understand the very fabric and bones of the system.
HUGE DISCLAIMER before proceeding in this article that these are the settings I chose for MY machine and what works for ME. I highly recommend experimenting on a virtual machine before attempting ANY installation on the actual machine as you could lose ALL of your data.
As this was the main machine, I wanted to make sure to still have a working machine if something went wrong. The two points I kept in mind to do that were:
- Dual boot Linux and Windows
- Keep Linux to its own scope
For most users switching from Windows to Linux (henceforth Arch Linux, or simply Arch), it is highly recommended to dual boot (keeping both OS) for a daily machine. However, it has its own troubles as both operating systems prefer their own file systems (think NTFS, FAT, ext) which can cause one OS not recognizing the others’ files and possibly wiping the other unintentionally.
Which is where (2) comes in and I did that by purchasing a new SSD. I went for a SATA SSD since my motherboard had both of its m.2 slots occupied. Now, you would say NVME is better and it is definitely is, even considering the price but the difference in performance is entirely up to convenience (reducing boot times by 2-5 seconds). It is also better to test installation on a virtual machine so that I had an idea what to troubleshoot during the real deal.
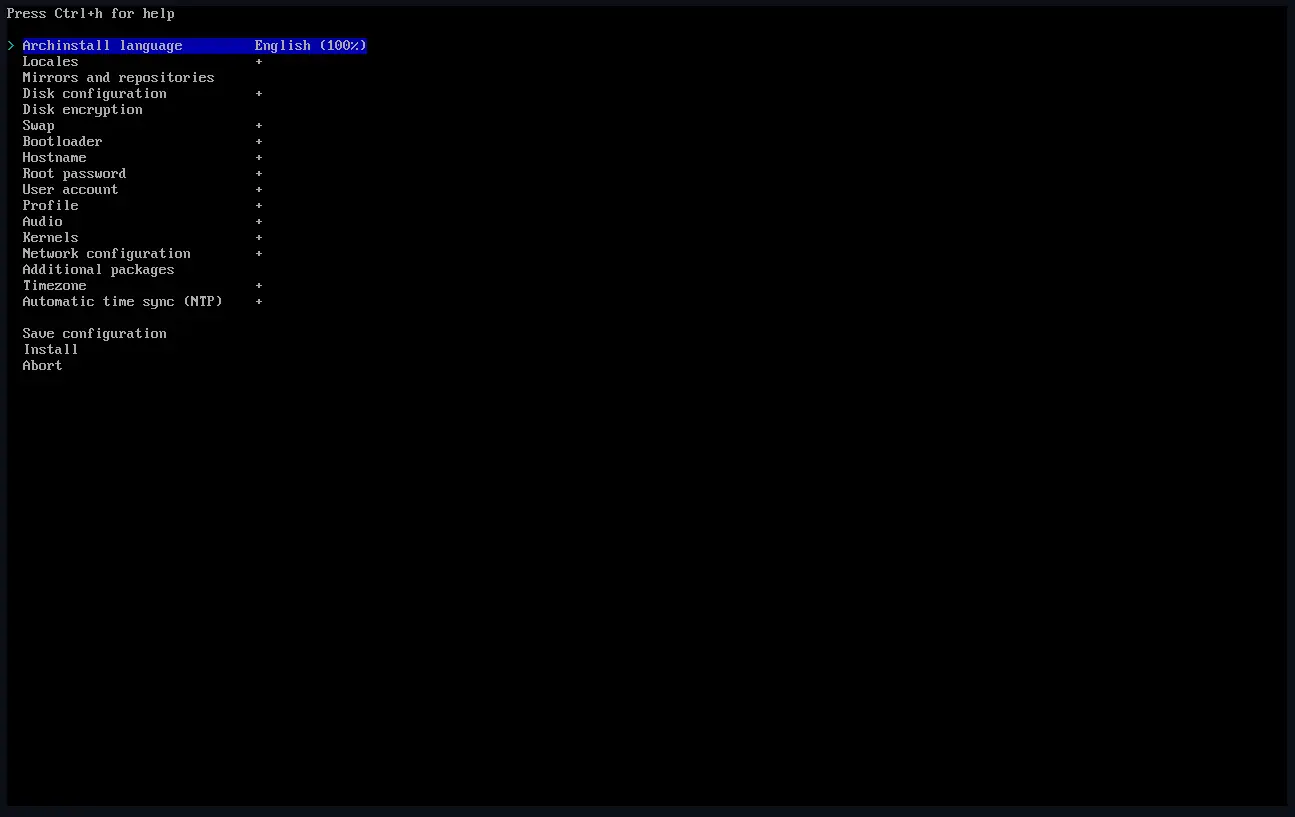
Fortunately, Arch picked up the correct ethernet drivers and was able to detect all of the drives.
I would like to draw attention on two configurations here:
- Desktop profile
- Partitioning table
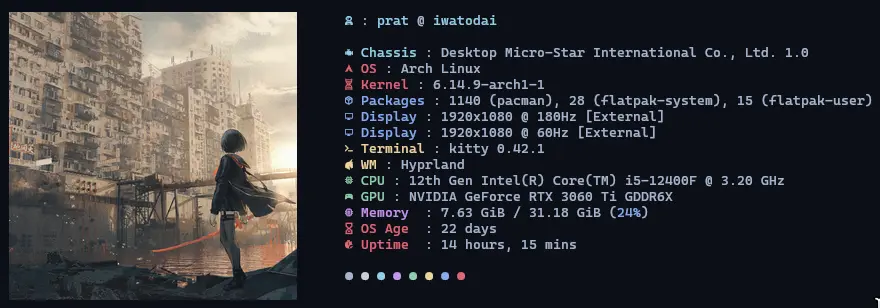
For the desktop environment, I chose Hyprland. I’ve covered this on the previous post, Moving to Linux. In partitioning, I opted for separate root (/) and home partitions for compartmentalization and easy distro hopping in the future.
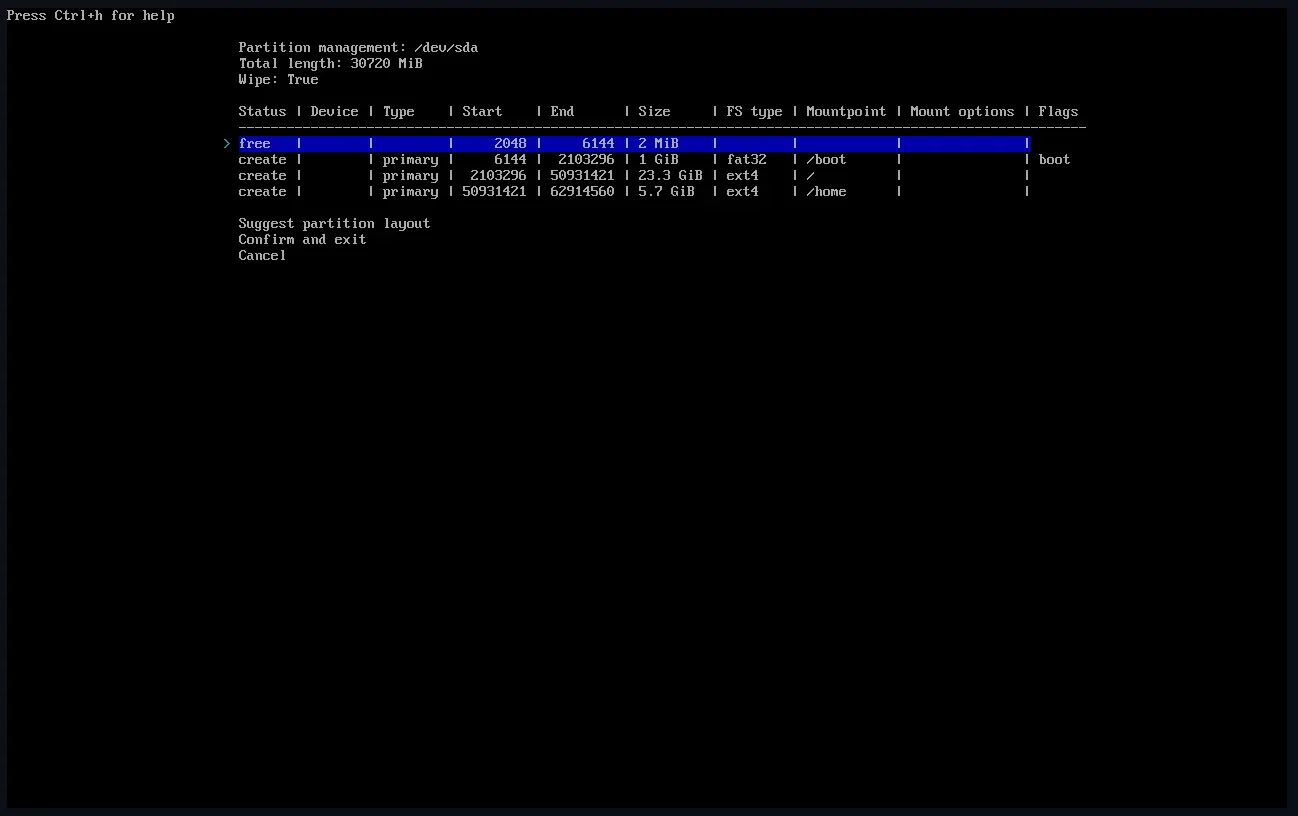
Looking back on this, I could have chosen BTRFS due to its robustness and easy restore point access. However, it is also relatively new so I stuck to the ol’ ext4 file system.
It was a good decision to opt for a double kernel system which has the cutting edge kernel and the LTS (long term support) kernel in case something breaks and I need to troubleshoot. If you’re not ready to fix issues on the daily, things are going to be get difficult, really fast. It is by nature for Arch to be susceptible to be broken as it strives to be on a rolling release with the regular updates.
In the following posts, I want to cover issues I faced with audio and video on Wayland and how I fixed them.